|
 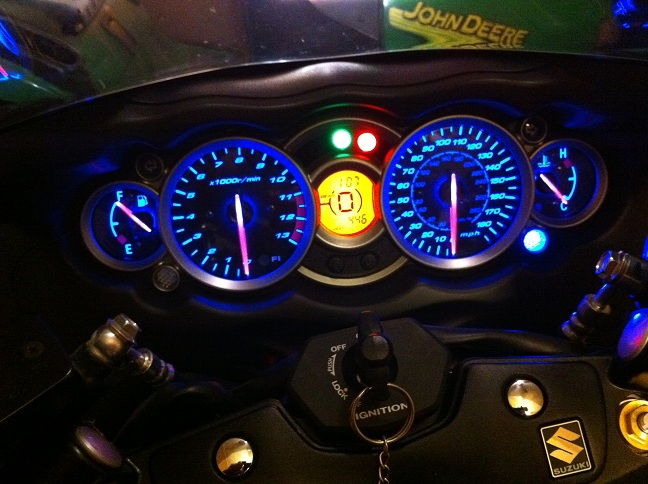
first off not to offend anyone but I hate an entire orange gauge cluster be it on a bike or in my tundra. With that being said it was time to take action. i'm sure I will skip a step or two so if
you have questions just ask. Also this mod can be done to change your gauges to practically any color you want. First off you need 8-10 smd type l.e.ds (light emitting diodes)
and a 15 watt soldering iron. The leds can be bought from several online stores but I got mine from ebay. the soldering iron is a cheapo from radio shack (10 bucks). Link for leds
0603 Ultra Bright SMD LED Blue 20pcs - eBay (item 320555140499 end time Dec-25-10 23:25:06 PST)
First step is to remove the push pin on the lower right and lower left of the plastic panel immediately below the gauges, there is also an allen bolt in the middle right even with the key cylinde
r
 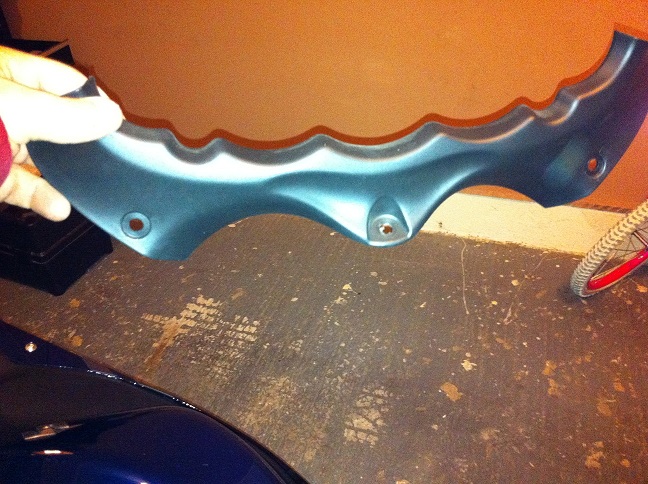
Next remove the 2- 10mm bolts (one on each side of the lower gauge cluster) one is under the temp and the other under the fuel

 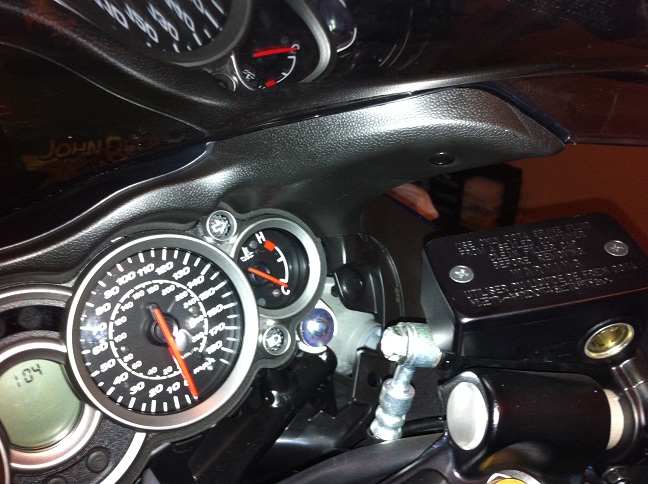
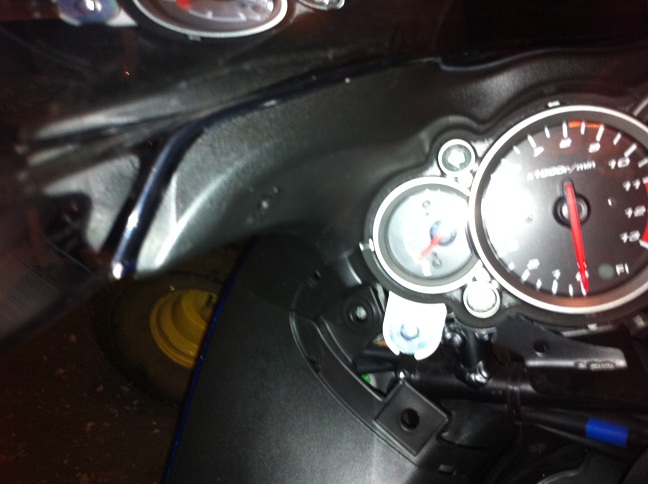
Next remove the 2 push pins on each side of the upper gauge plastic its byt he rear view mirrors, this piece is a little snug due to 3 plastic hooks
so u will have to tug on it a little
 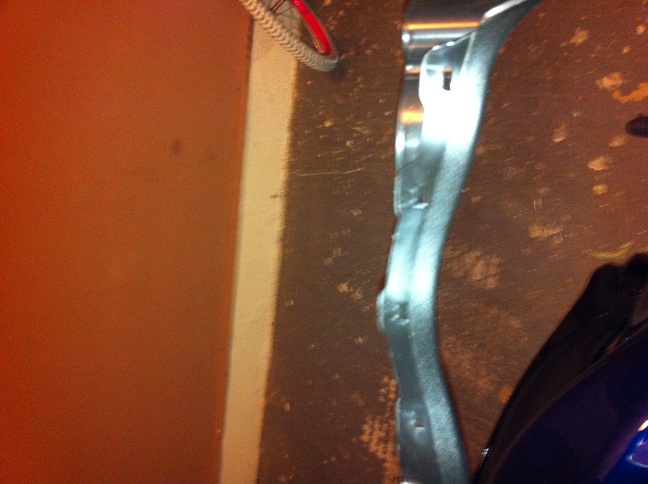
Now the gauges will pull out, there is a guide pin in the back so just pull straight out.
 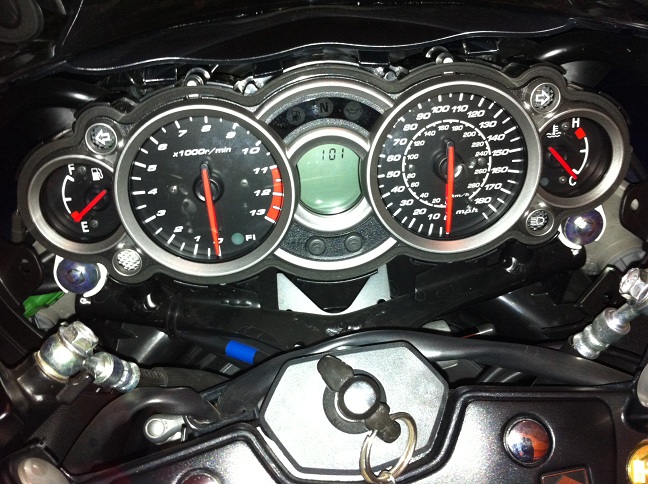
There are 20 screws that need to be removed to take off the white back cover for the gauges. also if you look at the top of the white back here you can see the two guide pins that hold the gauge i was talking about
 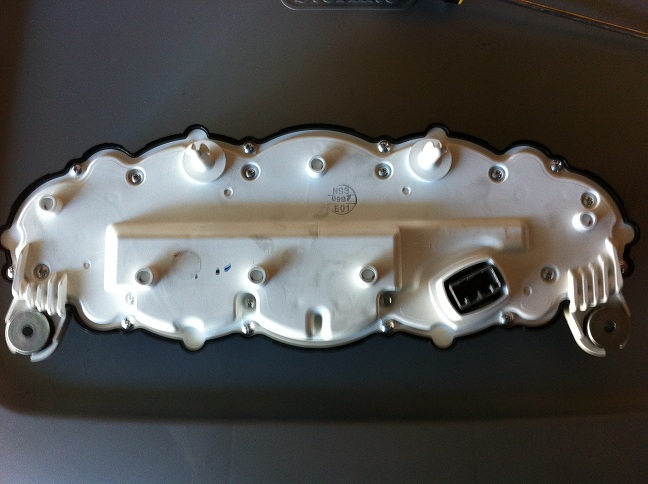
Front of gauges
 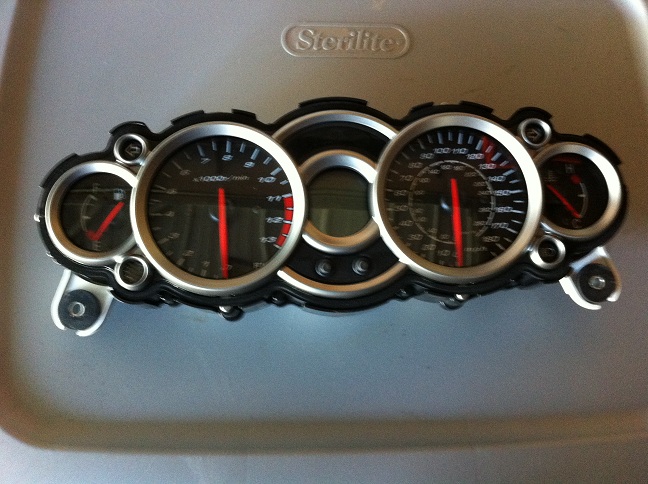
5 more screws then the circuit board for the gauges can be removed from the housing
 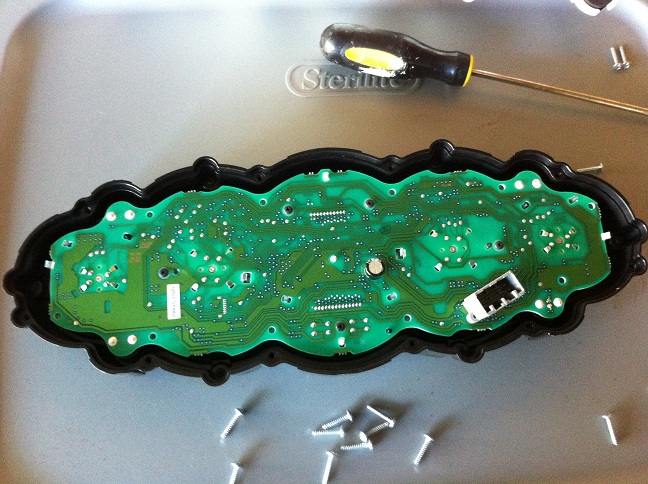
Gauges removed from housing

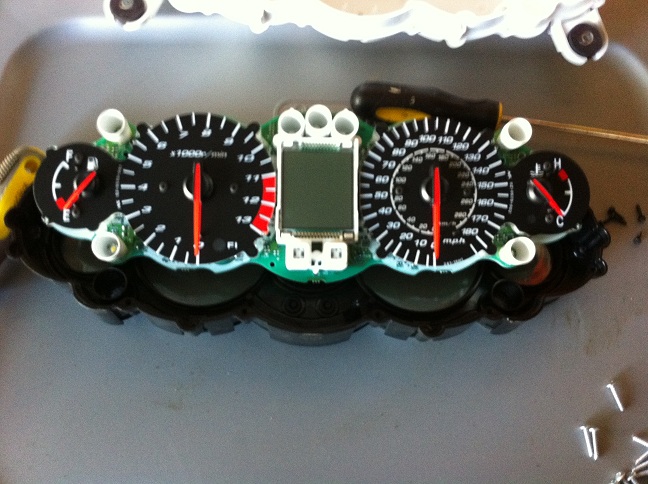
Use 2 spoons or something similiar to remove the gauges evenly

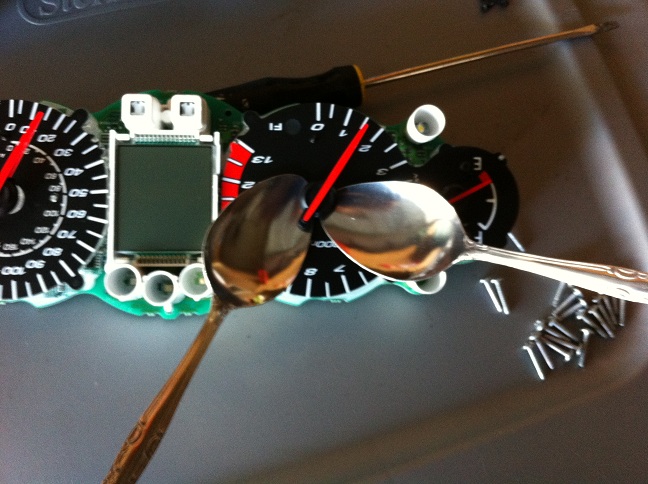
needles and 2 screws holding gauges removed

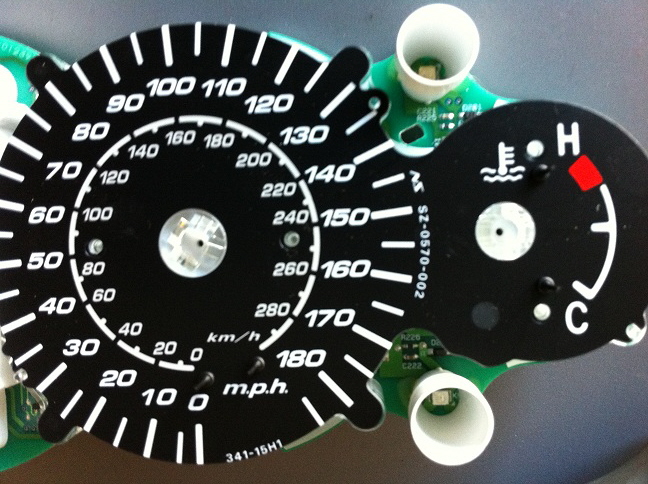
Gauge face removed

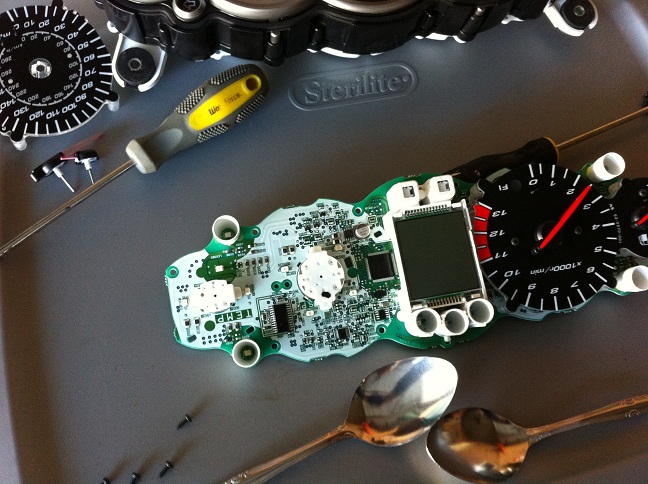
The 4 wite squares are the led that need to be desoldered
 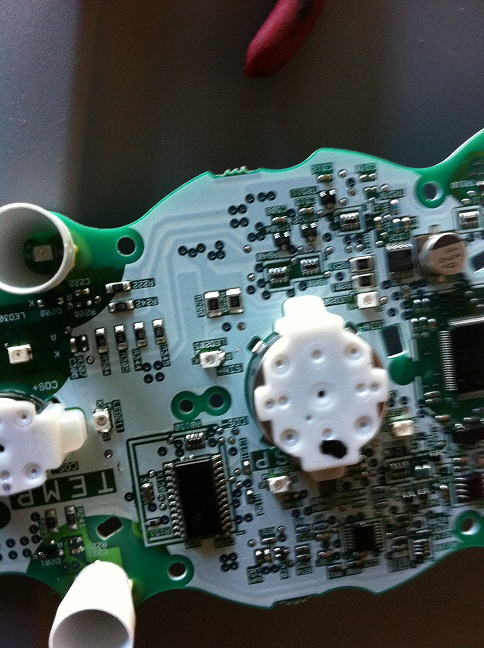
when soldering the new leds in place make sure the indention in the little square led matches up the same way the original came of, these little things only go on one way.
 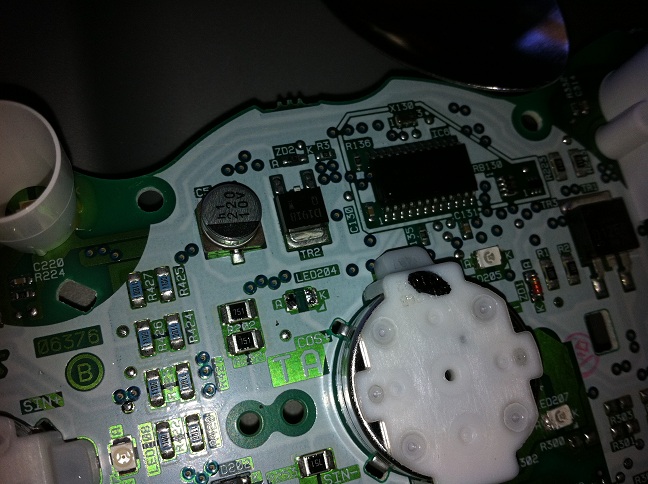
Do the same thing for the othe gauge. The gear indicator is more of a pain in the A$$ and will have to come back to it since it face has 64 solder joints and I have not decided if I want to tackle that yet.
Once you are done it would be a good idea just to plug the circuit board into the plug on the bike to make sure all the leds work and you have done a good soldering job before you put it all back together.
To put it all back together just do everything in reverse. I know I left something out or if you have any questions just pm me. Let me know what you think.
|